Assemble
Print the piece labels
Why this step
Each piece knows which job and which opening it belongs to.
What this does
Puts an identity on every serialized piece, so material can be traced from the saw to the elevation it belongs to. Each piece is a produced unit with a barcode serial (U-YYYY-######); printing its label creates a thermal print job and hands you a PDF label in the same click, so it works with a thermal printer, an office printer, or both. The thermal job starts in Draft unless the template queues automatically — the shipped template does not, so queueing is a deliberate step.
Labels are printed from three places: the Print Label button on produced units, the Shop Floor Terminal's ⎙ buttons, and automatically when production starts. What the label looks like is decided by the label template; where it prints is decided by the template's print backend.
Before you start
- Pieces exist: the Barcode Scan-to-Advance feature creates one produced unit per piece when the production order starts. Without it, there is nothing to label.
- A produced-unit label template — the shipped Produced Unit — ZPL (4x2") works out of the box — and, for thermal output, the print agent running (see the print-jobs article).
Steps
-
01
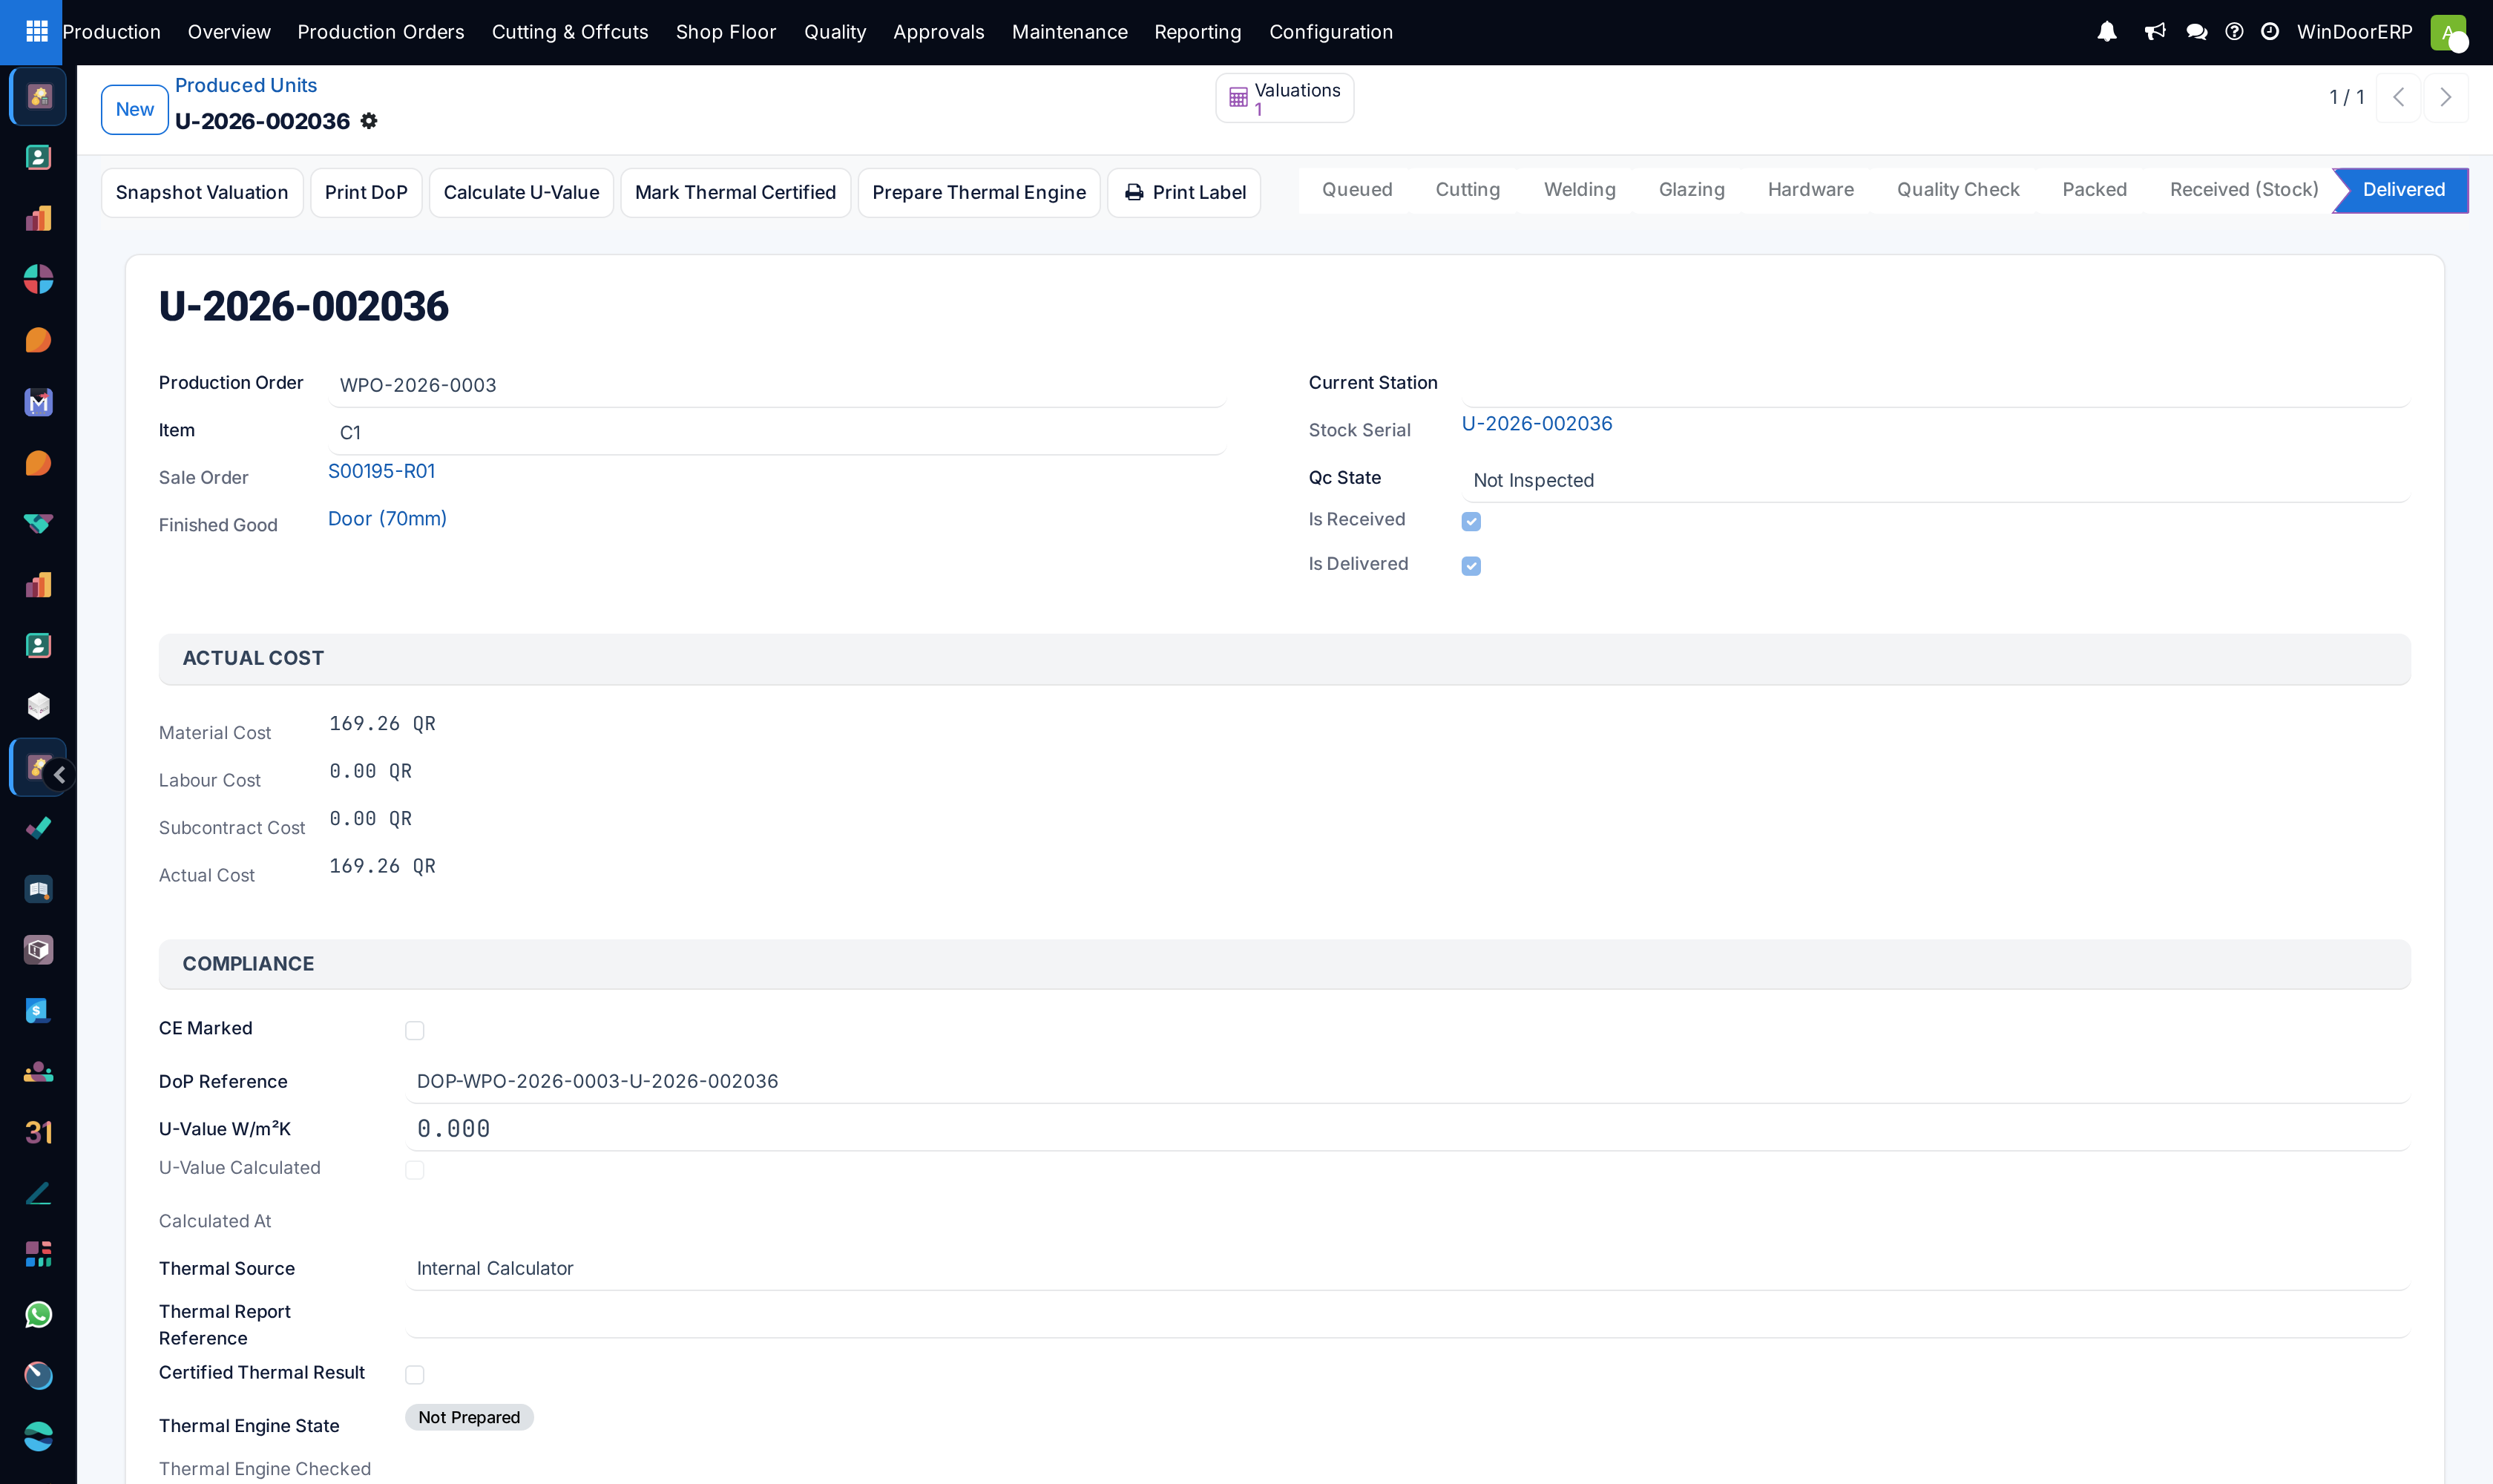
Open Production › Shop Floor › Produced Units and select the pieces to label — or open one unit.
-
02
Press Print Label. Per unit, one thermal print job is created from the first active produced-unit template (queued immediately if the template auto-queues), and the browser downloads the PDF labels for the selection.
-
03
Check one label against the drawing before running the batch: the label carries the order, the unit's serial barcode (Code 128) and the product.
-
04
Label cut pieces before they leave the saw, and finished units before they move to dispatch — the barcode is what every later station scans.
-
05
On the shop floor, operators print without leaving the terminal: ⎙ on one piece card, or ⎙ Print Labels for every piece of the item.
What is on the label — and what the barcode does
| Element | Why it is there |
|---|---|
| Order reference | Whose window this is — the production order (and through it the sale and customer). |
| Serial barcode | The unit's U- serial as Code 128. Scanning it at the terminal or in Scan to Advance moves the piece one stage; scanning it at packing adds the unit to a dispatch package. |
| Product | The finished-good product of the item. |
The item and position context lives on the unit and its item line — anyone scanning the barcode sees them; a custom template can also print them via its placeholders ({name}, {order}, {product}, {stage}, {date}).
Example
Three villas on one site take delivery the same morning. Labelled, the crew scans each unit into its villa's package, loads by package, and fits in sequence. Unlabelled, the same load becomes an afternoon of trial fitting — and the tracking system is blind for the whole job, because nothing could be scanned.
Where labels are produced automatically
- At Start Production (Scanning feature on): every new piece gets a queued print job. These automatic jobs are tracking stubs without rendered content.
- From the terminal: the ⎙ buttons create and queue jobs per piece — but in this release those jobs also carry no rendered content. The only path that produces formatted thermal content is the backend Print Label button, so use it for the labels that actually print.
Troubleshooting
| Print Label produced a PDF but the thermal printer stayed silent | The thermal side goes through the print queue — check Shop Floor › Print Jobs: the job may be sitting in Draft (template not auto-queuing) or Queued with no agent polling. |
|---|---|
| "No label template/renderer is configured." (on the terminal) | No active produced-unit template exists. Restore or create one under Configuration › Label Templates. The backend Print Label button never shows this — without a template it falls back to a built-in minimal barcode label. |
| There are no units to label | Pieces are created at production start only while the Scanning feature is on; for orders started before it was enabled, units are created at Done — and only when the Finished-Goods feature is also on. |
| A scanned label answers "Nothing matches …" | The label is stale — printed from a unit that was since deleted, or the code is not a unit serial at all. |
| Labels printed before a design change contradict the pieces | The label shows what the unit was when printed. After a change request, reprint the affected pieces (the print-jobs screen has Reprint with an audit trail). |
Common mistakes
- Printing labels before the design is frozen, so the label contradicts the unit that gets built.
- Labelling finished units but not cut pieces — the saw exit is where the confusion actually starts.
- Putting the label where glazing or handling destroys it, which breaks every scan downstream.
- Relying on the automatic start-of-production jobs for physical labels — they carry no content; print the real labels deliberately.
- Photocopying a label to "re-print" it instead of using Reprint — two identical barcodes on two different pieces poisons the scan trail.
Checkpoint
A printed label scans back to the right piece on the right order.