Scrap damaged stock
What this does
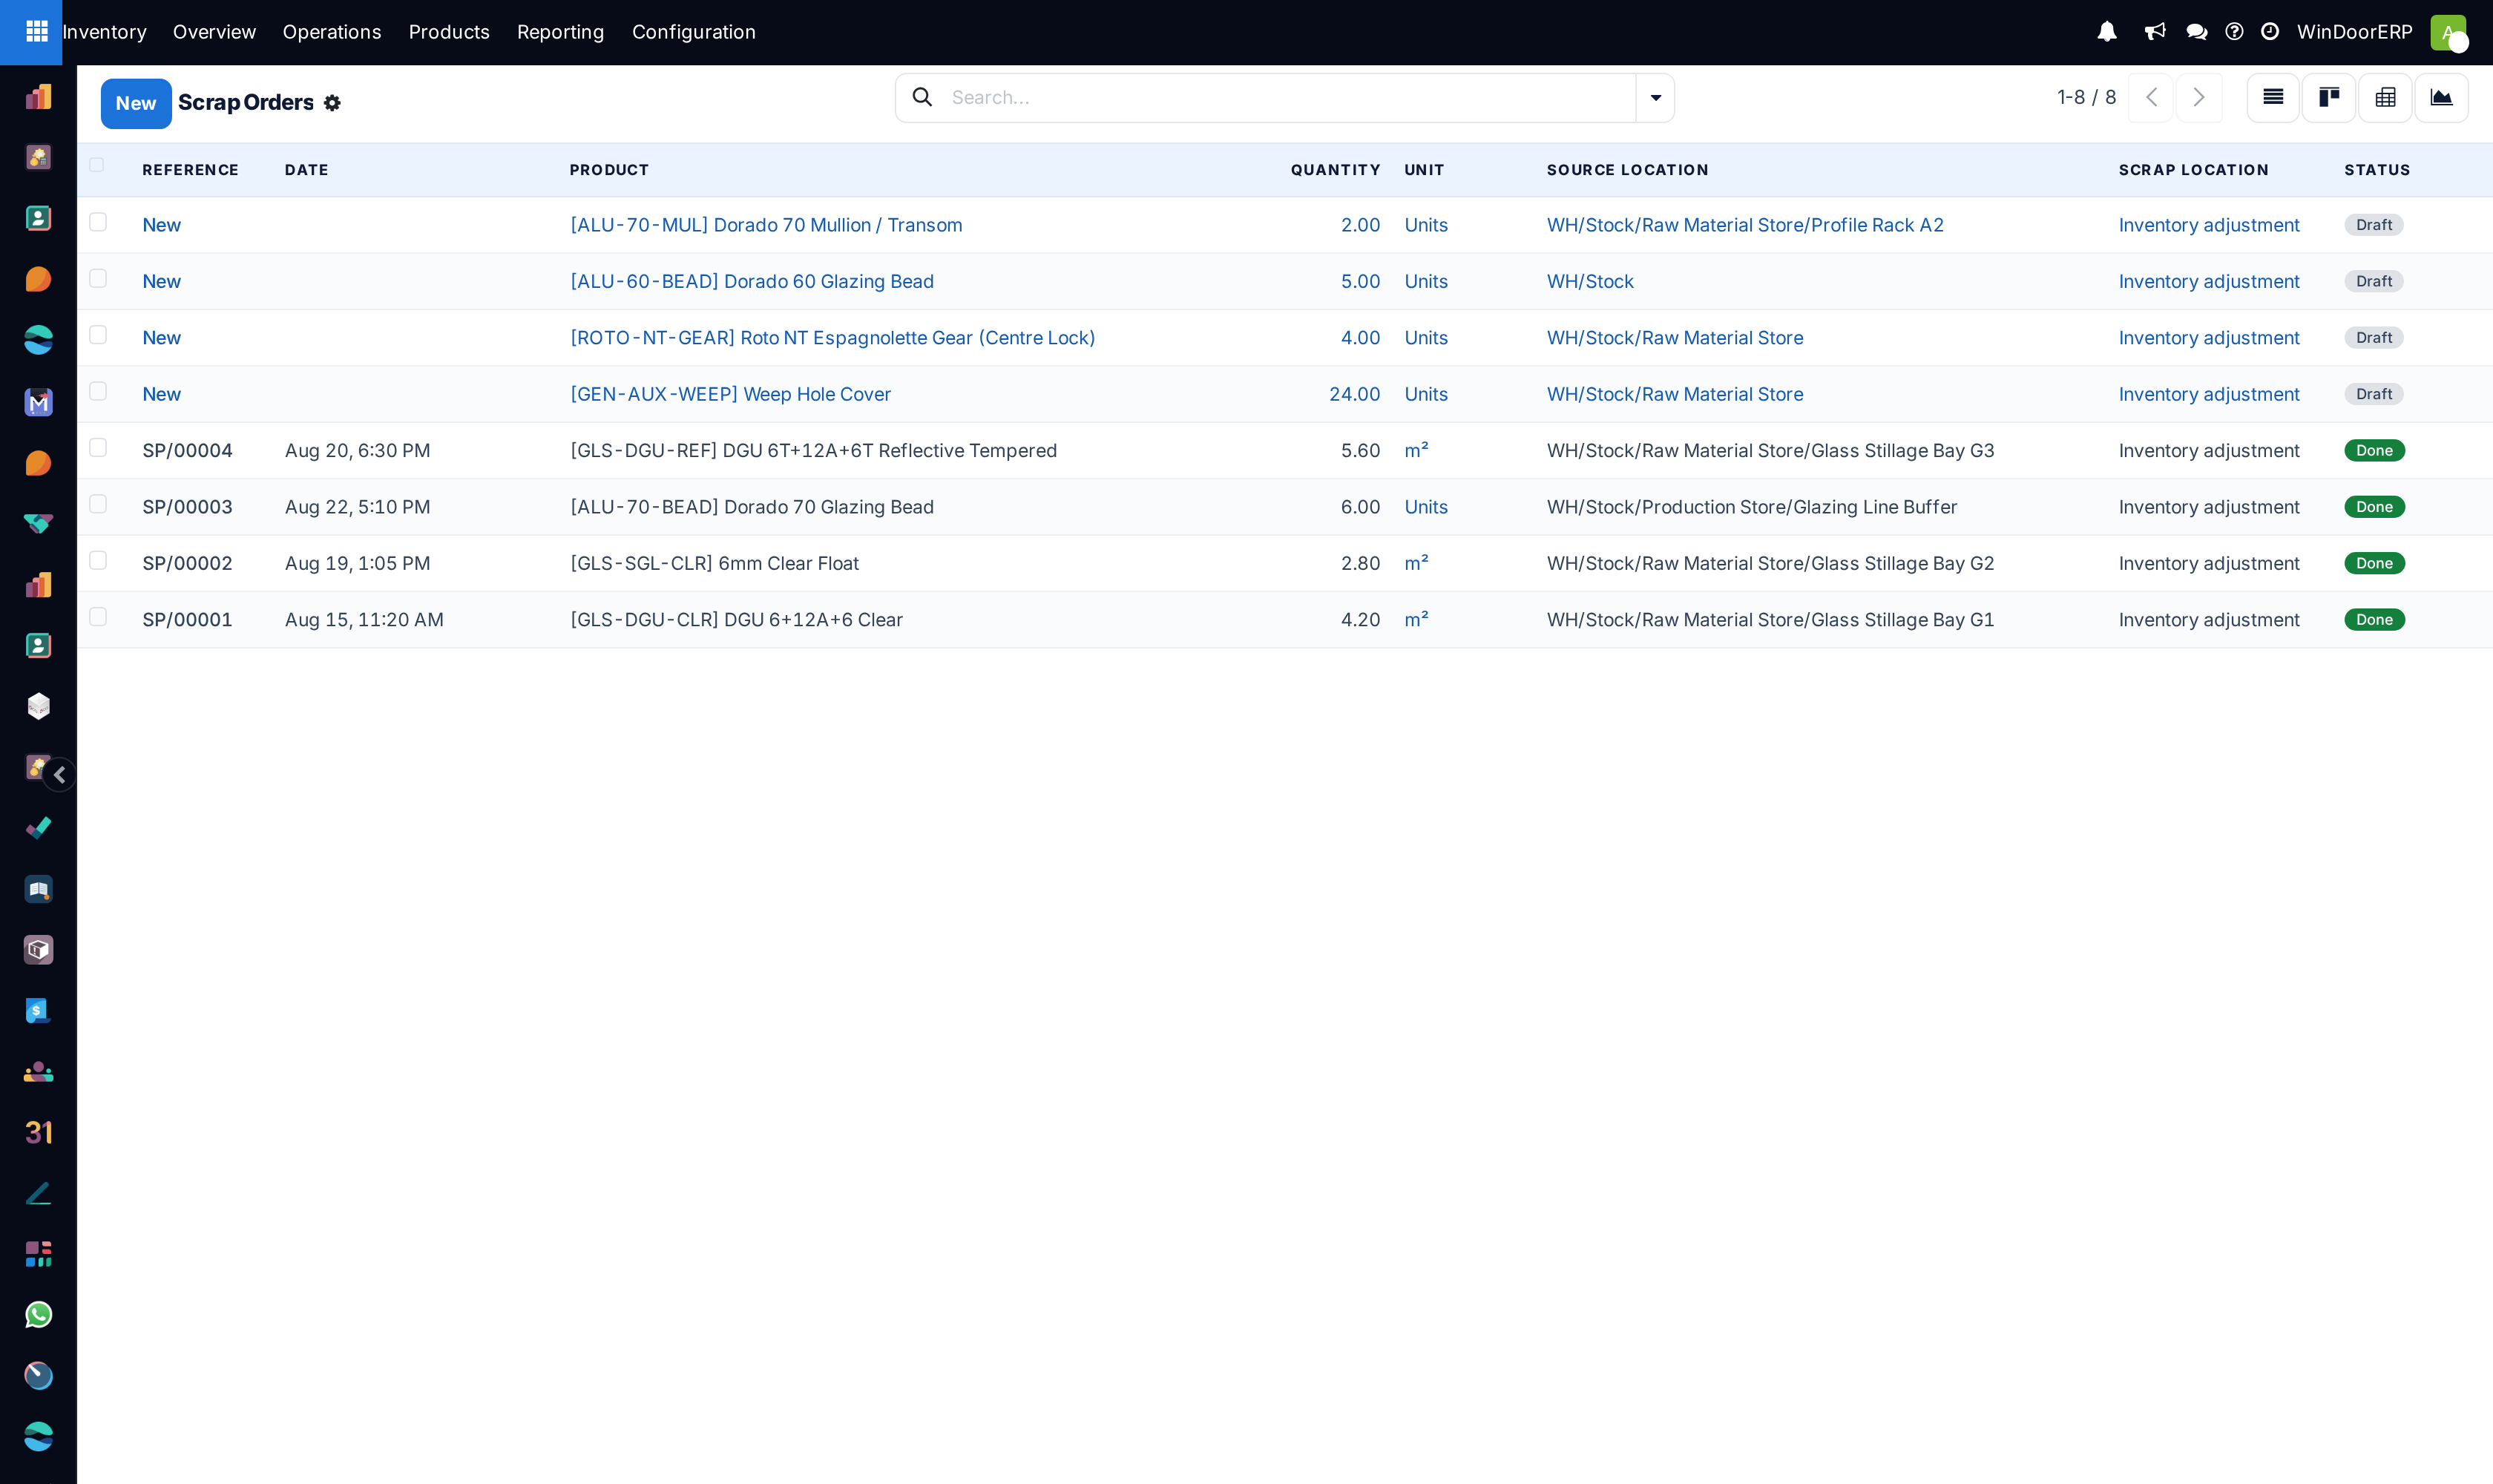
Takes goods that can be neither repaired nor returned — a cracked glass unit, a bent profile, a corroded hinge — out of stock and into a virtual inventory-loss location, so counts stay true and the loss is visible instead of quietly adjusted away.
Steps
-
01
Go to Inventory › Operations › Adjustments › Scrap and click New.
-
02
Pick the Product and set the Quantity — glass scraps in m², profile in metres, hardware in units, exactly as the product is tracked.
-
03
Check the Source Location — where the goods are now — and the Scrap Location, which defaults to Inventory adjustment.
-
04
Link it to the job it came from with Source Document, and tag a Scrap Reason.
-
05
Tick Replenish Quantities if the item has a reordering rule and must be replaced.
-
06
Click Validate. The order gets its SP number, the qty leaves stock, and the Product Moves smart button shows exactly what moved where.
Scrap during a receipt or delivery
Damage is usually found while handling goods, not later:
- Open the receipt, delivery or internal transfer.
- Click the (Actions) icon and choose Scrap.
- Select the product and quantity, tag the reason, and adjust the locations if needed; a Lot/Serial field appears for tracked products.
- Click Scrap Products.
A Scraps smart button then appears on the operation, listing everything scrapped from it — which is how a damaged-on-arrival pane stays attached to the supplier receipt that brought it.
Reasons are tags, and they are yours
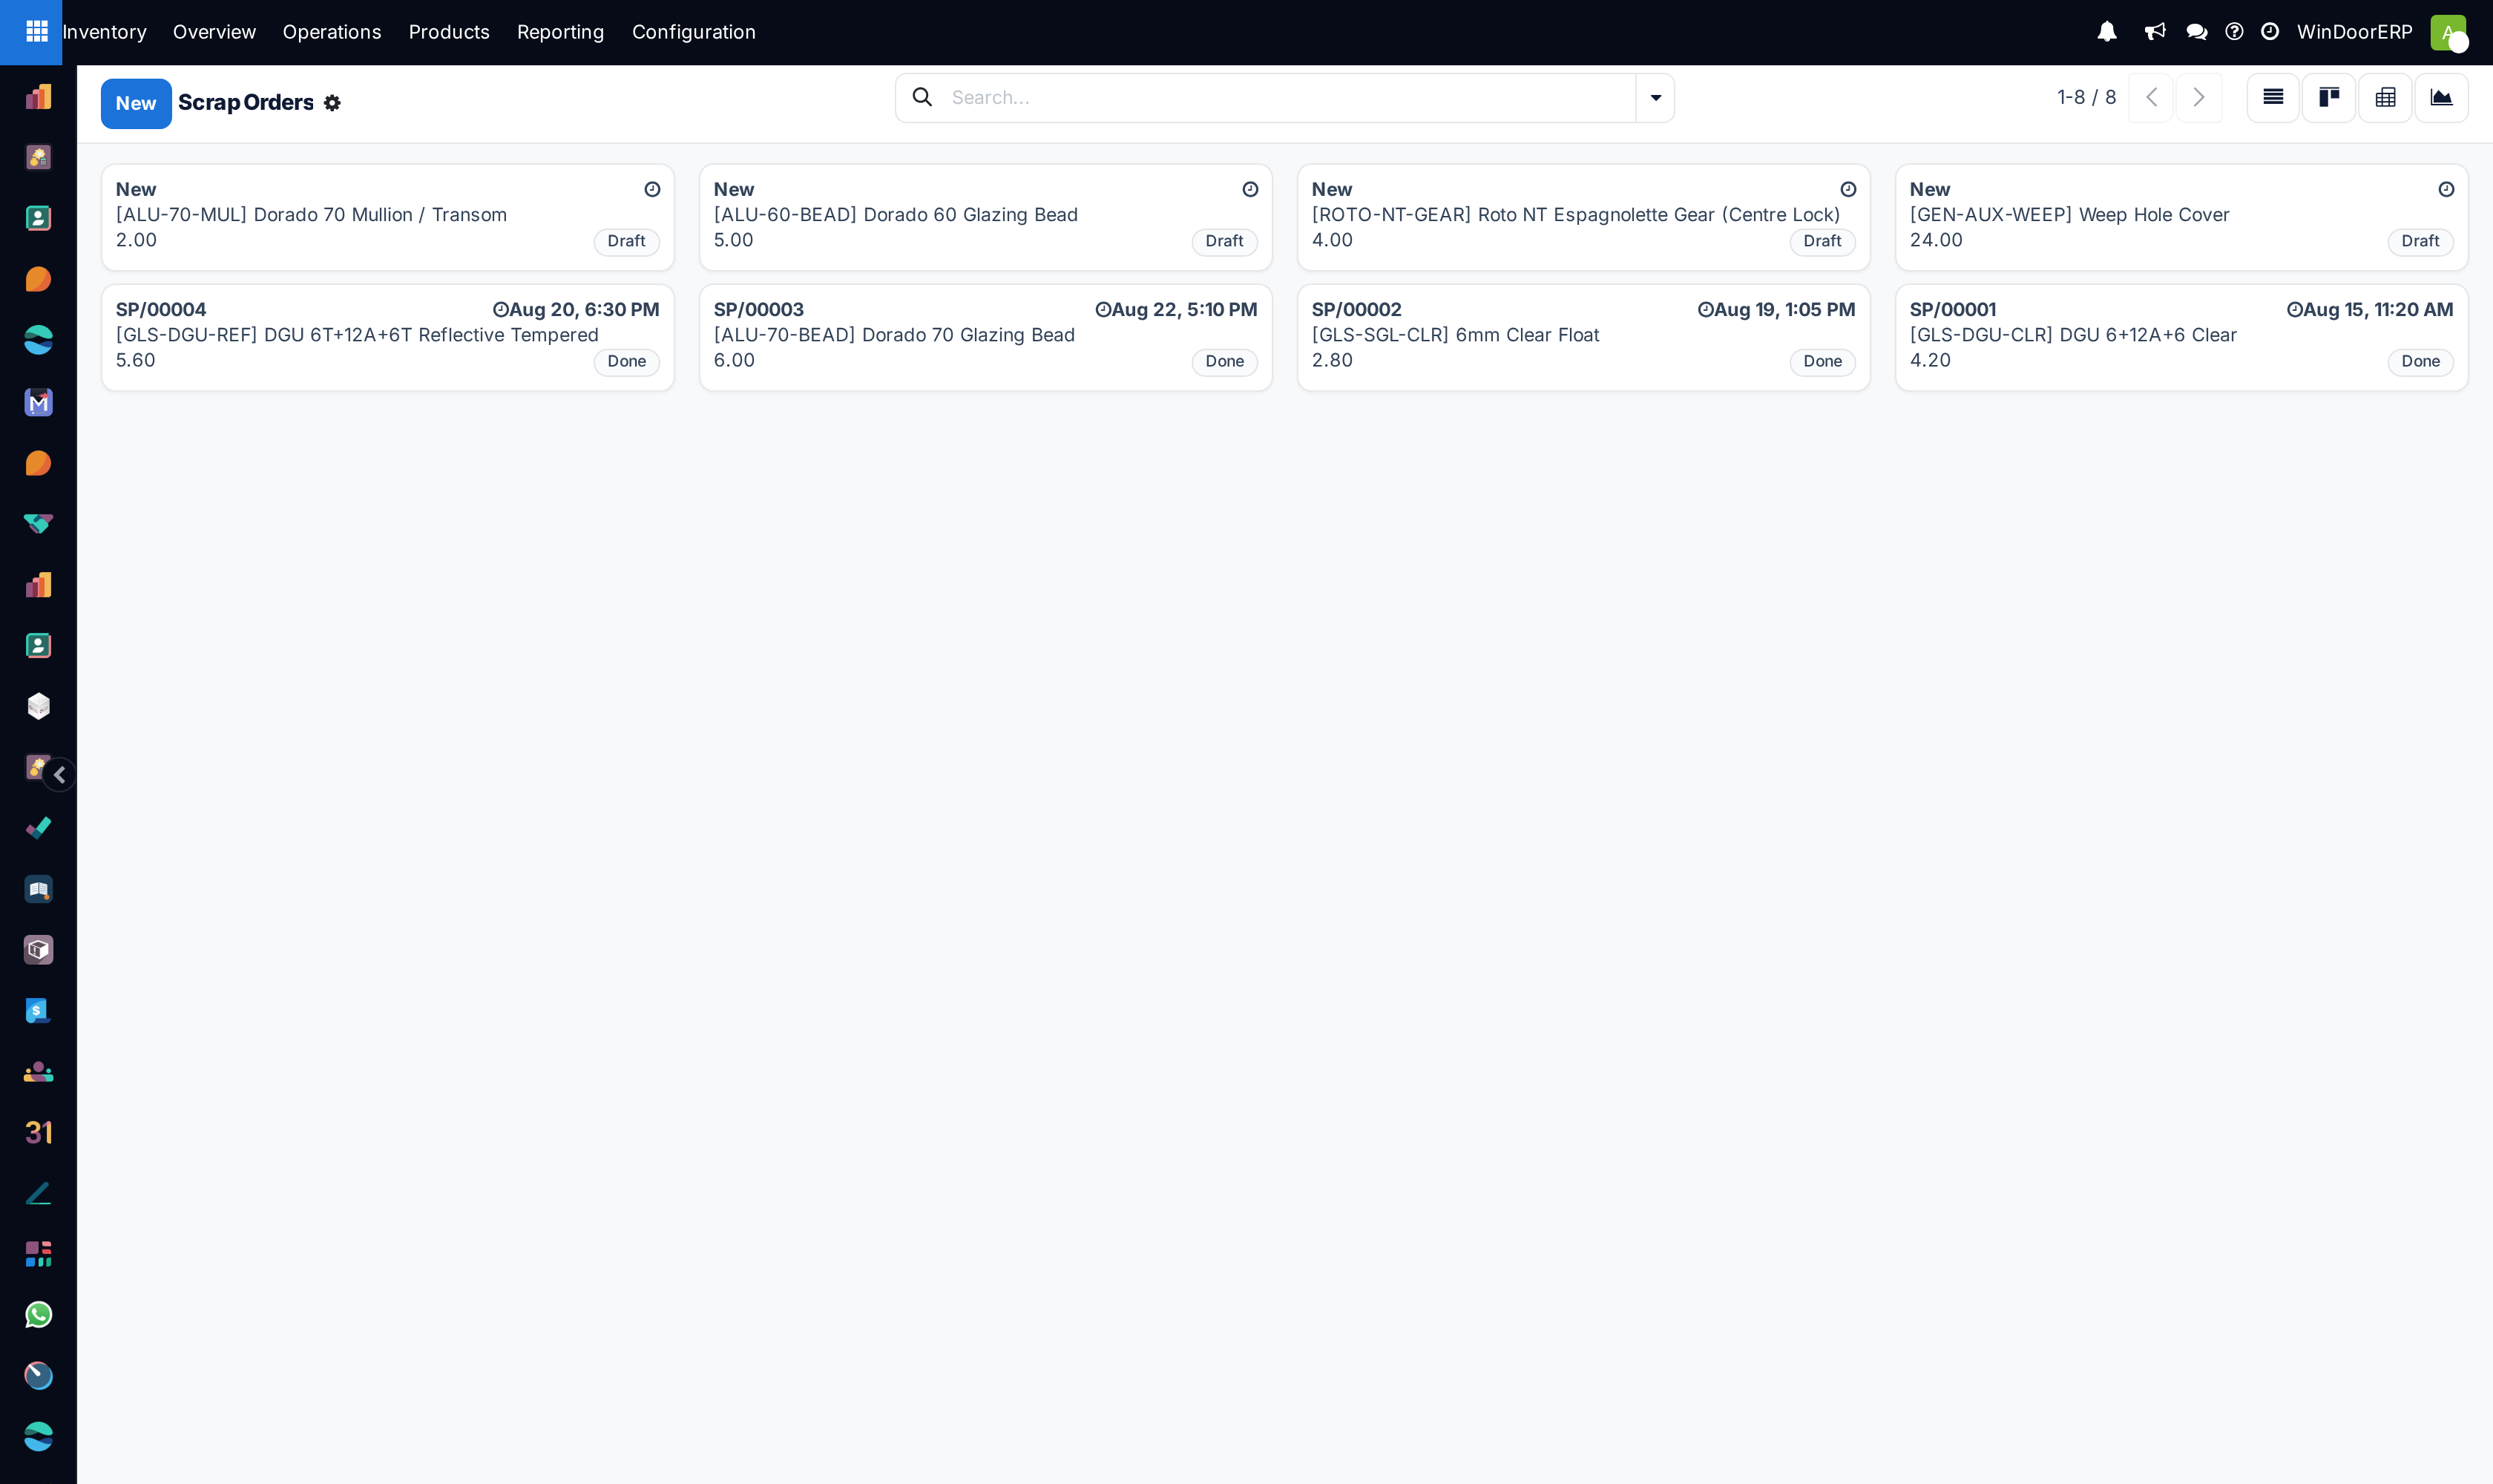
The Scrap Reason field takes one or more tags, and the list starts empty — define the vocabulary once and hold to it: breakage at handling versus at the cutting table, machining error, coating defect, transport damage, supplier defect, a site re-measure that orphaned finished pieces. The reason tags are what turn the scrap list from a confession into a report: filtered by tag and by month, it answers whether the supplier or the handling is at fault — and the list's pivot and graph views chart exactly that.
A location for scrap, with an account
By default everything scraps into Inventory adjustment, mixing breakage with count corrections. If scrapped goods must be visible as their own line — and reach the profit-and-loss report through their own account — give them a location: enable Storage Locations, go to Inventory › Configuration › Warehouse Management › Locations, remove the Internal filter, and create one with Location Type = Inventory Loss and a Loss Account. Pick it as the Scrap Location when scrapping — the stock move then writes to that account instead of the general adjustment one.
Troubleshooting
A warning says the location does not hold that quantity — the source location is wrong, or the count already drifted. Confirming anyway drives the location negative; better to pick the location the goods are actually in, or fix the count first.
A scrapped item was needed by a job in production — if Replenish Quantities was ticked, the replacement order is already on the replenishment report; if not, raise it there now. The scrap itself does not warn the job.
The scrap does not show in the loss accounts — it went to the default Inventory adjustment location; only a location with its own Loss Account separates breakage from count corrections.
Somebody scrapped the wrong thing — there is no unscrap button: move the goods back with an internal transfer from the scrap location, or an inventory adjustment, and let the wrong scrap order stand as history.
Common mistakes
- Adjusting the count down instead of scrapping. The stock is right either way, but the breakage rate becomes invisible.
- Scrapping without a reason tag, then being unable to answer whether the supplier or the handling is at fault.
- Forgetting Replenish Quantities on a component needed for a job already in production.
Was this article helpful?
Thanks — your feedback helps.
Running a window or door factory?
Ask for a demo